How to Create a Discord Server: Step-by-Step Guide
Learn how to create a Discord server on desktop or mobile, choose a template, add channels and roles, adjust permissions, invite members, and set up the server properly.
On this page
Creating a Discord server takes only a few minutes. A useful setup also needs clear channels, basic roles, sensible permissions, a controlled invite, and—if the server will grow—appropriate moderation or Community settings.
Quick Setup Overview
- Open Discord.
- Choose Add a Server from the server list.
- Create the server from scratch or use a template.
- Give the server a recognizable name.
- Add an icon if you have one.
- Create a small set of text and voice channels.
- Create the roles you actually need.
- Review role and channel permissions.
- Create an invite with suitable limits.
- Test the server before sharing the invite widely.
1. Create a New Discord Server
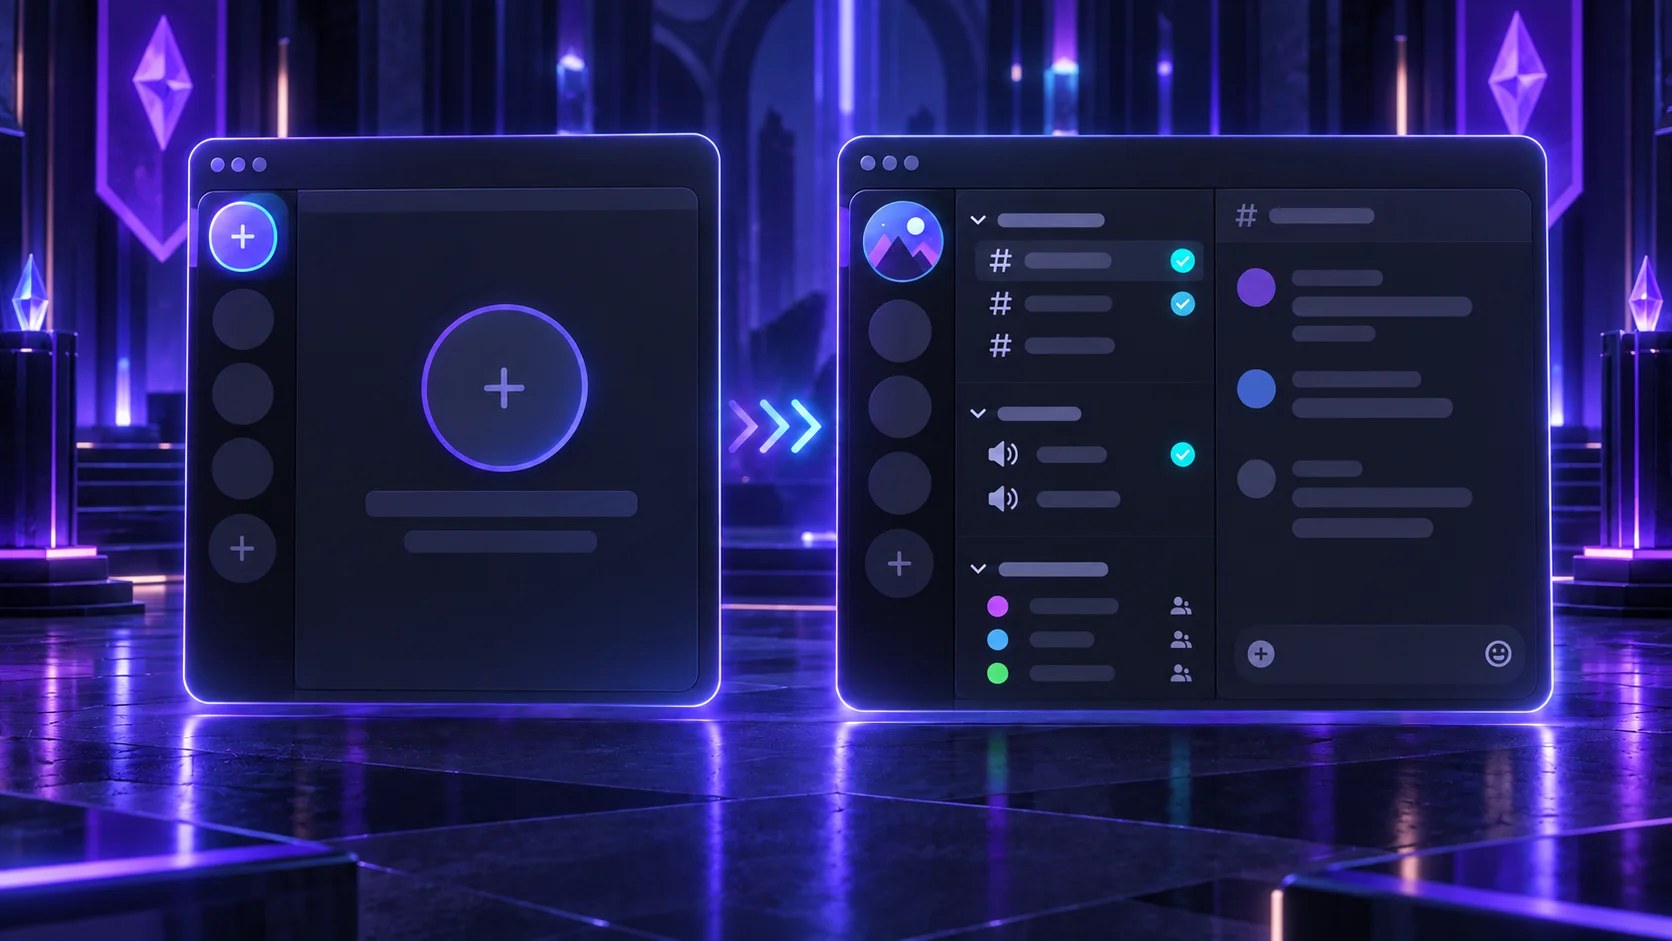
On the desktop app or web client, find the server list and select the Add a Server plus control. Discord will offer a blank starting point and may show templates or usage prompts.
Choose Create My Own or a suitable template. A prompt such as friends versus a club or community can suggest a structure, but it is not the same as enabling Discord’s separate Community features. You can skip it if unsure.
Enter the server name, optionally upload an icon, and confirm the creation. Both can be changed later. Discord’s official server creation guide shows the current desktop flow if the interface has moved.
2. Create a Discord Server on Mobile
Open the Discord app and display the server list. Tap the add-server or plus control, choose the option to create a server, and follow the prompts to select a starting setup. Enter a name, add an icon if desired, and finish creating the server.
The result is the same type of server you can manage on desktop. Exact button placement and wording can differ between iOS, Android, and app versions, so use the creation option currently shown after opening the server list.
3. Choose Whether to Use a Template
Starting from scratch gives you a mostly blank server and is often easiest for a small friends group.
A template can pre-create categories, channels, roles, and some permissions. It saves time when the structure fits, but does not guarantee that its permissions or moderation choices are right. Review every imported role and private area before inviting anyone.
Discord’s Server Templates guide explains what templates can copy and how reusable templates behave.
4. Choose a Good Server Name and Icon
Use a name members will recognize. A friends server might use the group’s usual name; a community server should reflect its topic. Avoid long symbol strings that are difficult to identify in a list or search.
For the icon, choose one simple subject with strong contrast. Fine text and crowded artwork become hard to read at small sizes. The name and icon can be changed later.
5. Create Your Main Channels
Text channels are topic-based places for written conversations. Voice channels are rooms members can join for voice or video. Categories are headings that group related channels and can also share permission settings with the channels beneath them.
A practical first layout is:
- INFORMATION:
#welcome,#rules,#announcements - TEXT:
#general,#media - VOICE:
General,Gaming, and an optionalAFKroom
Use the add control beside the server or category, then choose the channel type and name. Discord’s channel category guide covers grouping and synchronized category permissions.
Do not start a small server with dozens of empty channels. Add a new topic channel after members repeatedly need it; until then, a short list is easier to scan and moderate.
6. Create Basic Roles
A role is a named group that can control permissions, display, and access. Every server already has an @everyone role, which provides the baseline permissions for every member.
Start with a short role list:
- Moderator for trusted people who help manage conversations.
- Member if you want a standard verified-member group.
- Optional interest or game roles for organization, mentions, or access.
- An admin role only when a trusted person genuinely needs broad server control.
The server creator already has full access and does not need an Owner role for permissions. You may use one as a label, but it should not become an excuse to give more accounts unrestricted access. In particular, do not grant Administrator merely as a convenience.
7. Review Basic Permissions
Permissions determine actions such as viewing channels, sending messages, managing messages, or changing the server. Server-wide role permissions provide a base; category and channel permission rules can then change access in specific areas. Because @everyone applies to all members, review it before adding permissions to other roles.
Use the least access each role needs. Ordinary members should not receive moderation controls, and private moderator channels should remain limited to the team. Discord’s Roles and Permissions guide warns that Administrator grants every permission and bypasses normal channel restrictions.
Use View Server As Role if it is available to you, then ask a trusted regular member to confirm what they can see and do. This catches mistakes that are easy to miss while viewing the server as its owner.
8. Set Up a Welcome and Rules Area
A new member should be able to tell what the server is for and where to begin. Put #welcome, #rules, and #announcements near the top of the channel list, preferably in an Information category.
Keep the welcome message brief: explain the server’s purpose, where members should talk first, and whether they must choose a role. Write rules in plain language and focus on behavior you can enforce. Use announcements for updates that should not disappear inside general chat.
9. Create an Invite Link
Create the invite from the channel where new members should first arrive. A welcome or rules channel is usually a better landing place than a busy voice room or private discussion.
Before copying the link, review any expiration and maximum-use controls Discord shows. A limited invite suits a small group; a longer-running invite may suit an established community. Settings vary, so do not assume every link lasts forever.
Share the link only with the intended audience. Discord’s Invites 101 guide also explains how authorized server managers can review or revoke active invites.
10. Test the Server Before Inviting Everyone
Walk through the server as a regular member, not only as its owner. Check that:
- regular members can see the intended welcome, text, and voice channels;
- moderator and private channels stay hidden from ordinary members;
- members can send messages and speak only where intended;
- moderators can access the areas and controls they need;
- invite links open the correct server and landing channel; and
- the welcome message, rules, and channel names make sense without extra explanation.
Testing before a public launch prevents private-channel leaks, blocked conversations, and confusing first visits. Correct one permission at a time and test again.
Should You Enable Community Features?
Discord offers optional Community settings for more organized servers. These can provide tools such as announcement channels, onboarding, and official moderator updates. Enabling Community is a separate step from choosing a community-oriented option in the initial creation wizard.
A public-facing or growing community may benefit. A private friends server usually does not. Enabling Community also does not automatically make a server publicly discoverable; access and Discovery are separate concerns.
If you want these tools, use Discord’s current Community setup guide rather than relying on an old checklist, because the available settings and activation checks can change.
Do You Need Bots When Creating a Server?
No. Discord can create and run a server with its native channels, roles, permissions, invites, and moderation settings. A bot is optional.
Configure those basics first. Later, add an app only for a specific need such as moderation workflow, automation, music, or another utility. Installing many bots immediately creates more roles, permissions, commands, and maintenance before you know what the server needs.
How to Make a Discord Server for Friends
Keep a friends server small: one #general channel, one #media or memes channel, and one or two voice rooms are usually enough. Add a simple Member role only if it helps with access or display.
You may not need a formal moderator team or announcement system. Create a private admin area only if someone genuinely needs it, and avoid dividing a small conversation across too many channels.
How to Make a Discord Community Server
For a larger or topic-based server, start with a clearer structure: welcome, rules, announcements, general discussion, support or help, a few topic channels, voice rooms, and a private moderator category.
Define moderator permissions before opening the invite broadly. Make channel purposes obvious, decide how new members get access or roles, and consider Discord’s onboarding or other Community tools when they solve a real organizational need. Expand the structure in response to member activity instead of predicting every possible topic.
Common Mistakes When Creating a Discord Server
- Creating many empty channels before members arrive.
- Giving Administrator to people who need only a few moderation permissions.
- Using vague channel names that do not explain where to post.
- Leaving new members without a welcome or concise rules area.
- Sharing a public invite before testing private and moderator channels.
- Creating too many decorative or overlapping roles.
- Adding several bots before configuring Discord’s native tools.
What to Do After Creating the Server
Invite a small first group and watch how they use the structure. Refine permissions, role names, and channel organization where members encounter real friction. Add moderation tools if the audience requires them, and consider bots later for specific tasks rather than as a substitute for a clear setup.
Review the server again after it has been active for a while. Remove unused channels, clarify confusing names, revoke invites that are no longer needed, and confirm that new moderators still have only the access required for their work.
Frequently Asked Questions
Is creating a Discord server free?
Yes. Discord documents server creation as free. Optional subscriptions and Server Boosts can add extras, but they are not required to create and use a basic server.
Can I create a Discord server on mobile?
Yes. Open the server list in the Discord mobile app, use the add-server control, choose the creation option, and follow the current prompts to name and create the server.
Can I change the server name later?
Yes. The server owner or someone with the required management permission can update the server name and icon later through the available server settings.
Do I need Nitro to create a Discord server?
No. Nitro is an optional subscription and is not required to create a server. Start with the standard server tools, then evaluate optional extras only if you need them.
Do I need bots for a Discord server?
No. Channels, roles, permissions, invites, and native moderation tools are enough for a basic server. Add a bot or app later only when it has a clear purpose.
Can I make a Discord server private?
Servers are invite-based by default. Keep a server controlled by limiting who can create and share invites, revoking links you no longer need, and using role or channel permissions so only intended members can view private areas.
Related guides
Continue with another practical explanation from the guide index.
How to Leave a Discord Server
Learn how to leave a Discord server on desktop and mobile, what happens after you leave, how to leave a server you own, and whether you can join again later.
How to Delete a Discord Server
Learn how to delete a Discord server on desktop and mobile, what happens to channels and members, how ownership affects deletion, and what to check before deleting a server permanently.
How to Create a Discord Invite Link
Learn how to create a Discord invite link, choose expiration and usage limits, make permanent invites, revoke old links, and troubleshoot invite problems.